
My Version of Drink Tutorial.....
It has come to my attention since I created this tag that there is another version written. I have not seen this tutorial, nor did I ever see a tag made until after I created this tag and was sent a copy by one of the members of Designer tags. After seeing the tag, and the fact that they are not the same, and the response from members of Designer Tags to write a tutorial, I have made the decision to go forward. I hope you enjoy this tutorial and now lets get started.....
Download and unzip folder for tools to complete this tutorial.
Open PSP and open a transparent
image 500X300.
Open text file. Select your for3ground and background colors...
I used navy blue for foreground and a dark red and blue gradient for the fill.
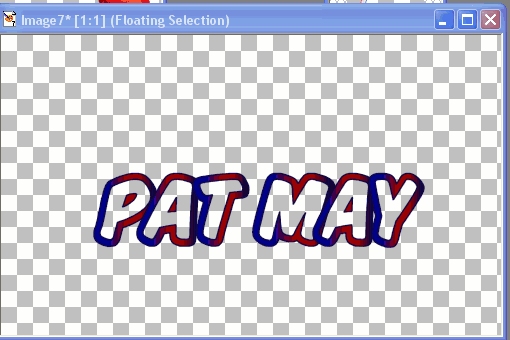
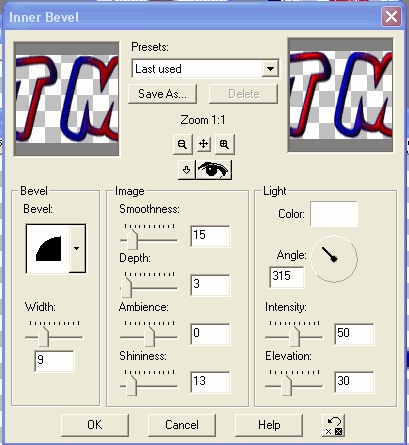
Type your name, size 48...use the Deformation tool to increase height of name to between 60-70 pixels, which ever size you like. With the ants still around the text, go to: Effects/3d effects/Innerbevel and apply bevel. (I applied 2 times to give more highlight to my name) Selection/select none
Copy and paste the coke bottle image as a new layer and the lips image as a new layer.
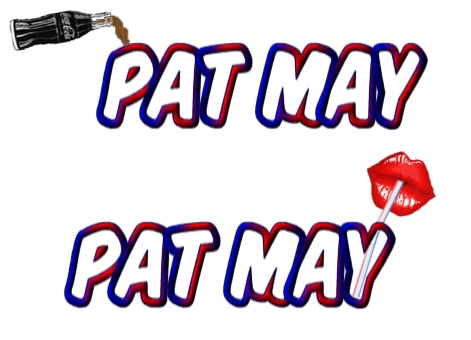
With all three images open, do placement of the bottle and lips, should look something like this...

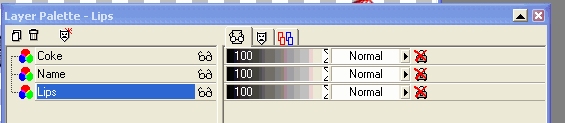
*Notice placement of straw and placement of layers above...the lips layer should always be placed below the name layer...
Remember to name (and rename) your layers as you work to prevent confusion.....
First, we will work with the name layer only, so close the coke and lip layer (by clicking on glasses). Click on the Magic Wand Tool, holding down the shift key, inside each letter.....Click on Selections/Modify/Expand and expand 2 or 3 pixels.
Add a new Raster Layer (check your layer palette to be sure that the new layer is highlighted) and fill with your coke filler.
Click onn Layers/Arrange/move down and you coke Liquid should now be below your name. Duplicate your name layer and your Coke Liquid Layer. (We will use these again) Close the coke layer and the coke liquid layer. Merge visible the "copies" of the coke liquid and name layers....rename this layer to: Name Full and then close.
Open your coke liquid layer and name layer. Highlight the Coke Liquid Layer and with your Selection tool, select approximately law/5 of the of the liquid. click on Edit/clear. Then Selections/none.
Duplicate this name and coke liquid layer. Close the original Coke and Liquid Layers and merge visible the copies of the name layer and coke liquid layer. Name this layer: Name 4/5 full.
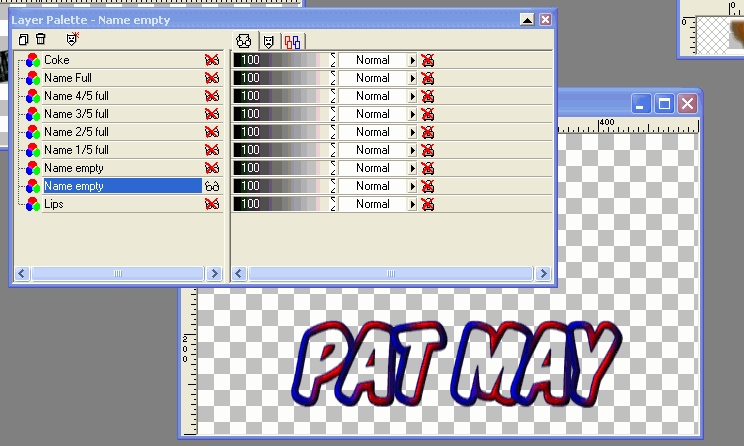
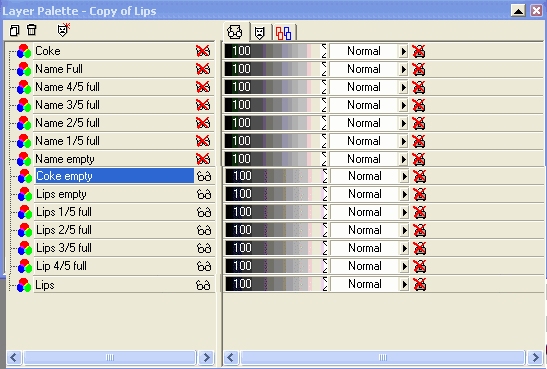
Repeat the above step until you have a Name 3/5 full, Name 2/5 full and a Name l/5 full layers, making sure that you have a name empty layer. Your layer palette should now look as mine below....
We now need to complete the 2 Name empty Layers. Duplicate your Coke layer and your Lips Layer...Again, Close the originals....Open the first empty layer and the copy of the coke layer, merge visible, rename layer: Coke empty....close. Open 2nd empty name layer and merge with the copy of the lips layer....Rename: Lips empty....The two layers should look something like this (on a transparent background):
To keep the placement of our layers in order...we will now start working with the last layer, working our way to the first....
Duplicate The Name l/5 full layer. Click on layers/arrange and move the layer down until it is below the layer named Lips Empty Layer. Duplicate the lips layer...close the original and merge visible the copy of the Name l/5 full layer and the copy of the lips layer....rename: Lips l/5 full.
Continue duplicating the Name layers, 2/5 full, 3/5 full and 4/5 full layers, merging with a copy of the lip layer and renaming the layers.....You layer palette should look like below after you have finished:
We need a layer with the name full of coke with both the coke bottle and the lips on it as our last layer....so lets do that next. Go to the Name Full layer at top and duplicate...Click on Layers/arrange and move it to bottom, the repeat layers arrange and move up l layer. (it should now be on top of your Lips layer. Duplicate the Lips. Duplicate the coke bottle and move it on top of the copy of the Name Full layer. Merge the copy of the coke bottle, the Name full and the copy of the lips layer.....rename this layer: Full with name and lips. close the layer.
*We will now add the coke filler image to our Name full layers. This image is added by copy and paste layer to each Name Full layer. We do not want this image exact as we want slight movement for the pouring effect.
The first layer since it is full does not use the filler layer....just duplicate the coke bottle and merge the 2 layers...rename the layer: Coke Full
Duplicate the coke bottle layer....close original. open the Name 4/5 Full Layer and copy and past the coke filler as a layer. Using the Mover Tool, do placement of the new coke filler layer....Move this layer below the name 4/5 full layer. Any filler outside the line can now be erased (just be sure you have the coke filler layer highlighted). When satisfied with placement...Merge the two layers.
Rename this layer: Coke 4/5 full.
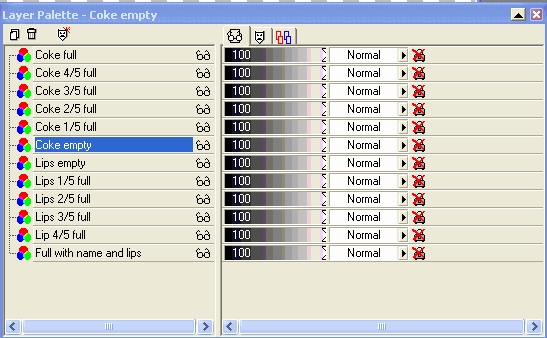
Continue working down through the name layers until you reach coke empty layer.
Your final layer palette should look like this:
If you have a coke bottle or lip layer extra, you can just delete them or close them when saving before taking to animation.
Next using your crop tool...Crop the image to desired size. If you want to add a white background, this can be easily done by adding a new layer, filled and merged with each layer. I prefer, and find it much easier and faster to just use opaque in Animation shop and let them add the background for me.
Save you image as a PSP image and take to animation. Frame properties: Set to 25
I hope you have found this tutorial easy to follow, sometimes I can get pretty wordy..
Pat May