Copy and paste the resized star onto the girl layer.
Position it in place right over the turned star.
Drag a girl layer under the tiny star layer and merge these two together.

Duplicate and move the layers so you have
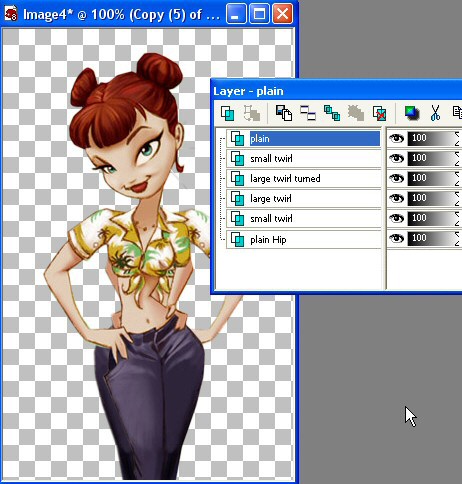
plain /small star /large star /twirl star / large star /twirl star / small star/
plain
The photo doesn't show all the layers I've named here, but you will need these.
Make sure all the layers are un Xed. Save this as a psp file.
Open in Animation shop. Right Click on the first frame
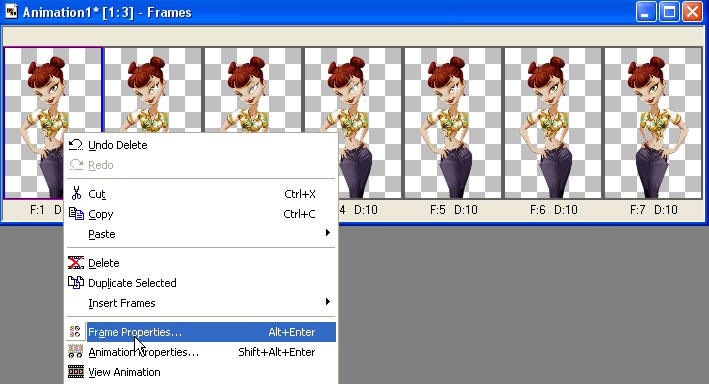
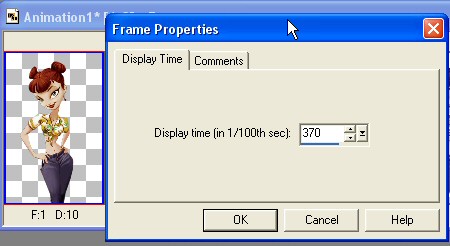
Frame Properties/ set to about 350
Set the last (plain) frame to about 200
This gives a nice delay.
Now to add your name.
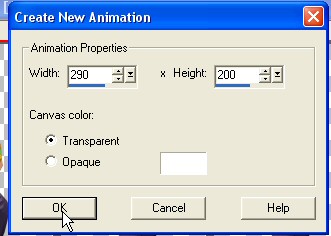
Open a new animation no wider than 1 girl frame
Add your name to the new frame. Copy it.
Click on the girl animation. CTRL A to select all the frames.
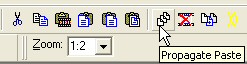
Click on the Propagate paste icon
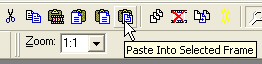
Then the Paste INTO Selected Frames icon
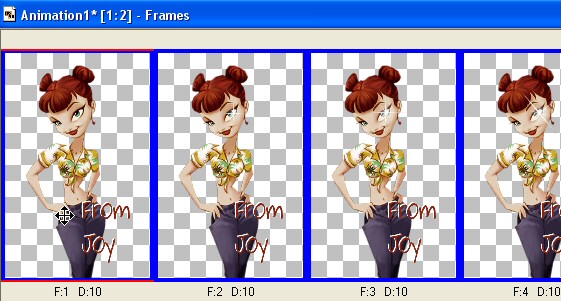
Only the first frame will show your name until you
position and click then the name will appear in the other frames
in the same spot as the first frame.
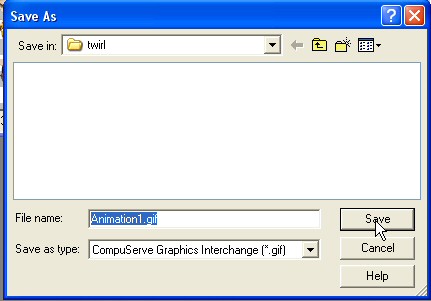
File/ Save as
Click Customize.
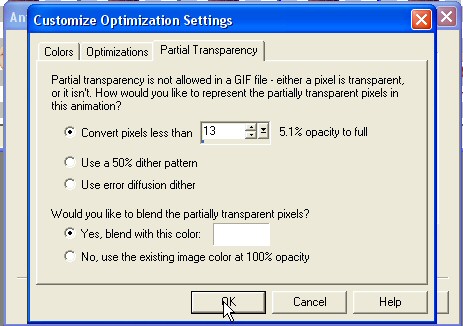
IMPORTANT!!!!
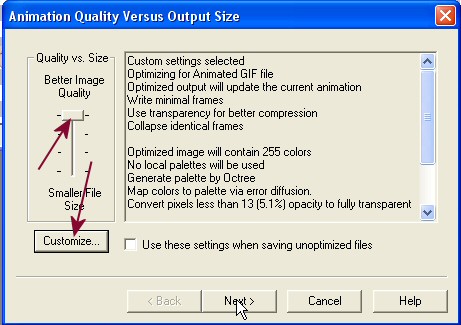
Click to blend with a color.
This should be the color you use most.
I don't use stationery as much as I once did so
When I write something it's usually on white.
Next
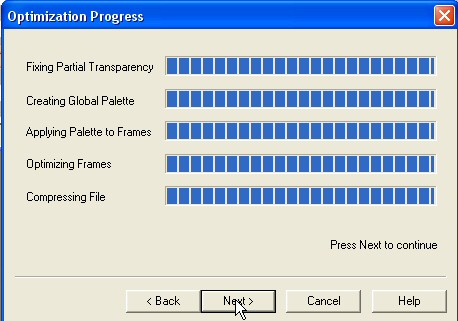
Next
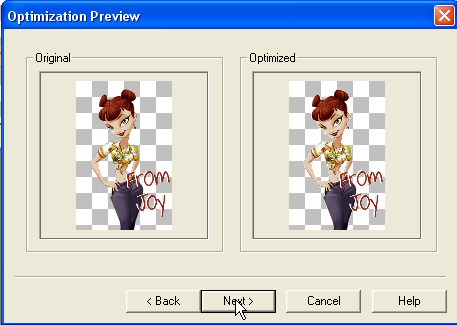
Finish
That's it!
Enjoy.