Now comes the scary part for most people.
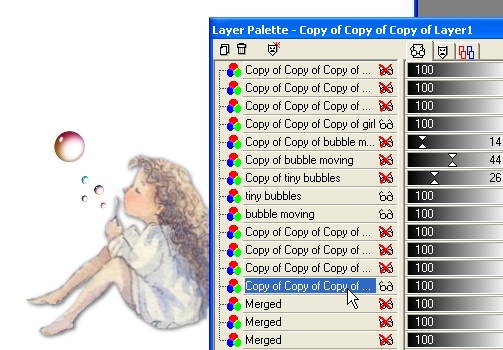
Duplicate the girl and the white layer each 6 times.
Remember on a couple of frames the tiny bubbles with be on the same
layer as the regular bubble. If you use the tiny bubbles.
X everything out except what you are merging. And remember to always
use merge visible. Never merge all. I added a short cut icon for merge
visible on my toolbar.
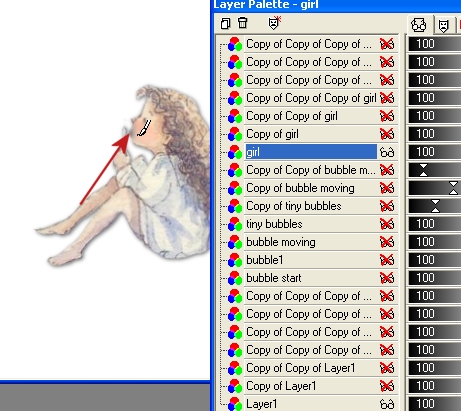
Merge visible a white layer and a girl. No
bubble.
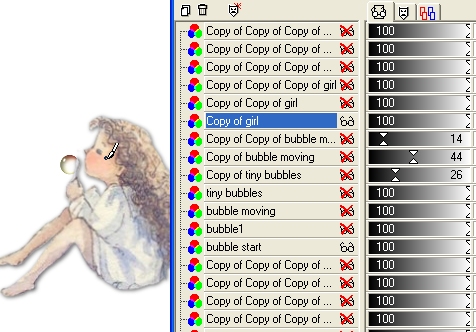
Then start merging a white layer, bubble and girl.
On the blowing layer, I took the paint brush with dark gray and
added a dot for her eye to look open a bit. And I added a touch of gray for her
mouth.
You may want to add a bit to her eye to look
like she is opening and closing it as you go.
Yeah, like you don't have enough to do keeping the layers straight huh? :)
Just keep merging the layers. Just click Undo if you make a mistake.
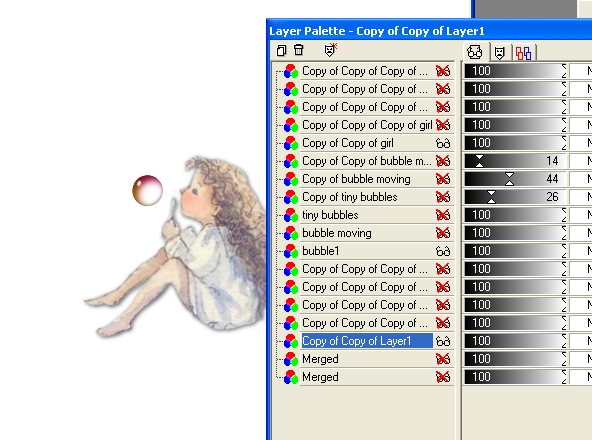
Just showing the fading bubble here and the layers it takes.
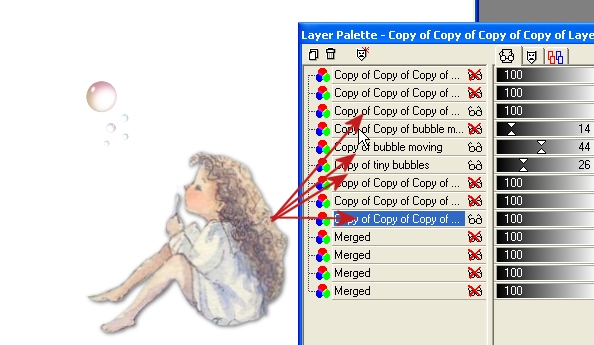
The next to the last layer as just a bit of
bubble left.
The last layer will be only the white and the girl with her eyes open a bit.
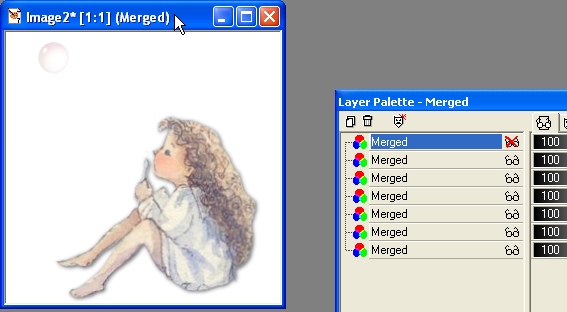
Ok....everything is merged. Now be sure to un X
everything and save as a psp file.
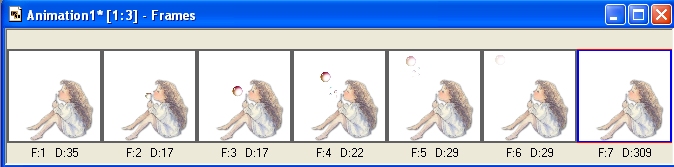
Open Animation Shop and the animation.
This is the per frame time setting I used.
Always leave plenty of time on the last frame so we can read your name.
And we don't want the animations to fly......just a natural feel.
Click on the next to the last frame only.
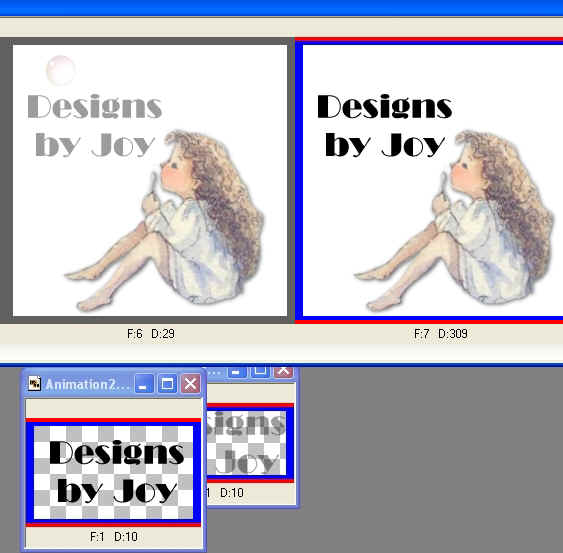
I made 2 new images with my name in psp
with an opacity of about 40 and one of 100% an pasted them here as new
animations.
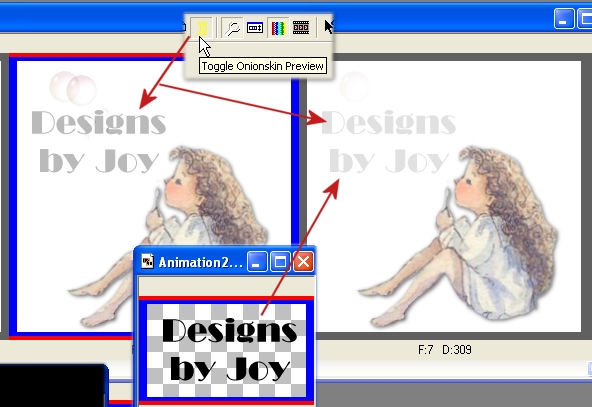
Then I copied and pasted the light name into the next to the last frame as
shown.

Click on the Onionskin preview so you can see
where to place the full opacity name.
This way the name is exact and there will be no jumping of text.
This is with the preview off after I have the text in place.
Congratulations!!!!!
Save your animation and enjoy!
YOU DID GREAT! (Didn't you?)
:)
Email me