Bunny Eggs Page2
Repeat the steps.
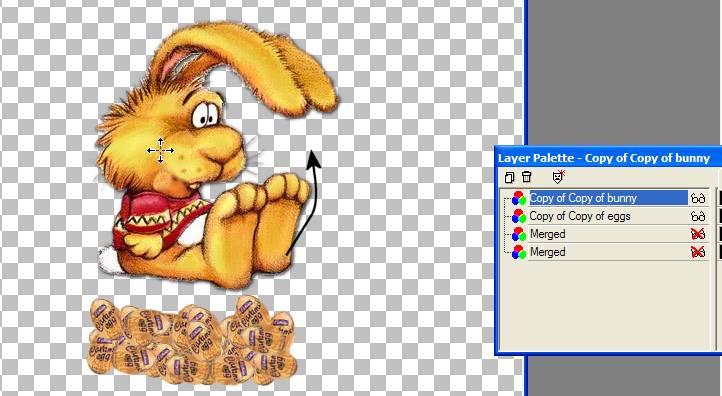
Move the bunny up a bit.
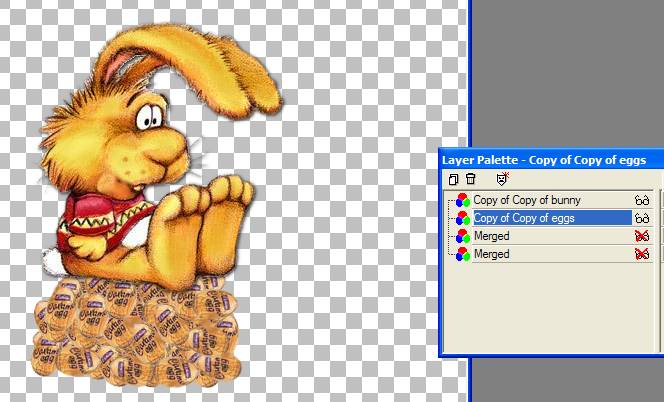
click on the egg layer, add the eggs.
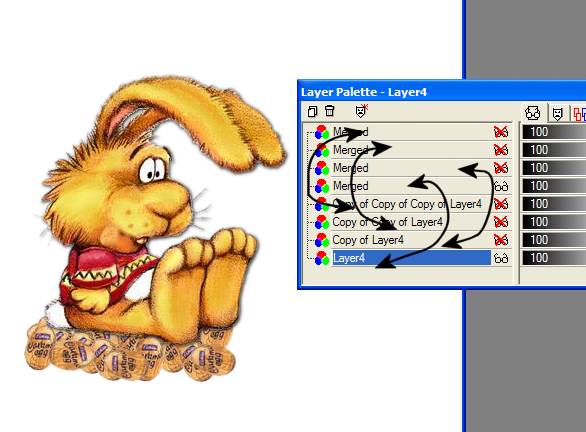
Like this. Duplicate. X out. Merge visible.
Repeat again.
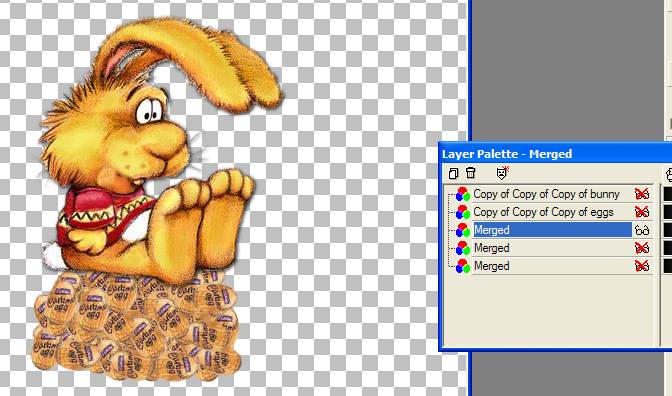
To a total of four layers.
(You can make more layers in the same way if you want. I stopped at 4.)
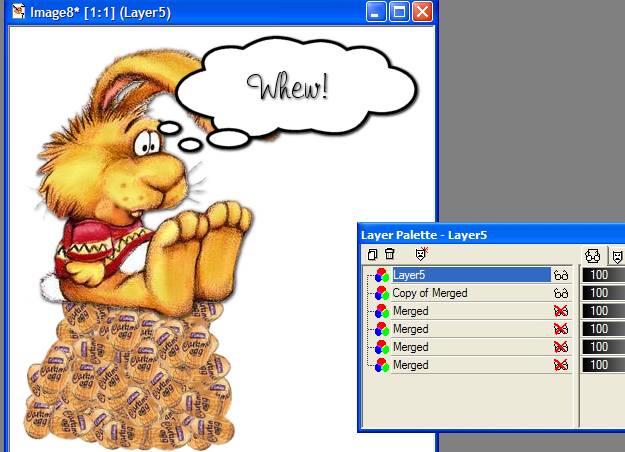
You should now have 4 merged layers.
Add a layer and fill white. Duplicate it 4 times.
Merge visible a white layer and a bunny layer.
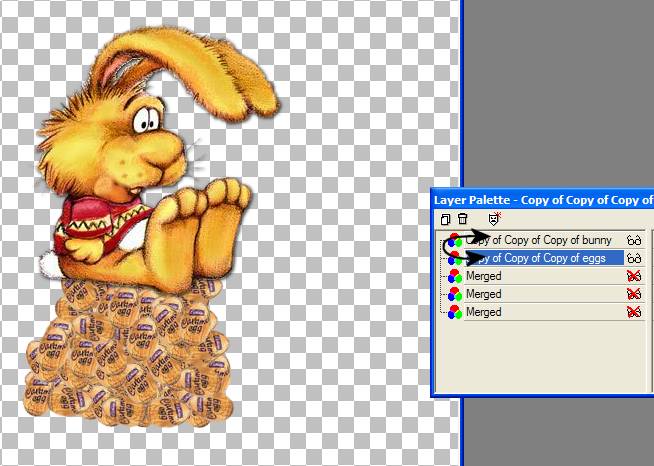
Duplicate the top layer of the bunny and eggs.
Add a talk bubble if you like.
I made mine on it's own layer so I could move the bottom two bubbles.
I want them to look like he is thinking.
Surround them with the selection tool, click on them and position.
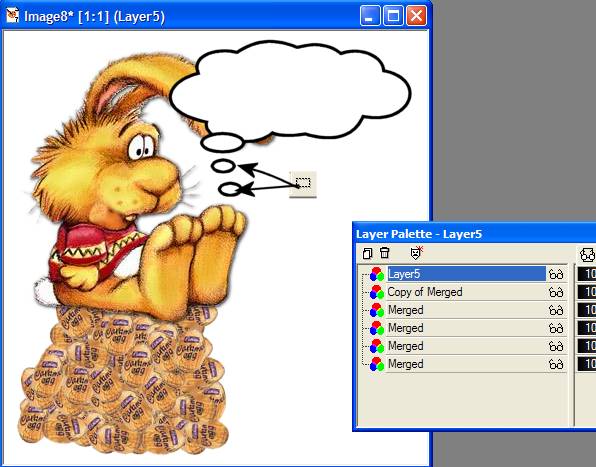
Like this.
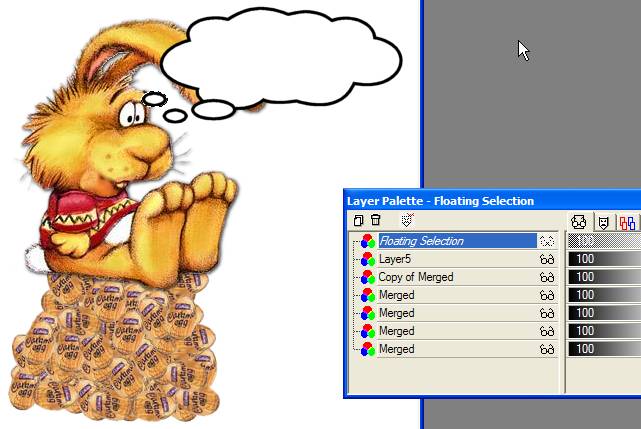
Add your text and merge with the top bunny
layer only.
X the other layers out.
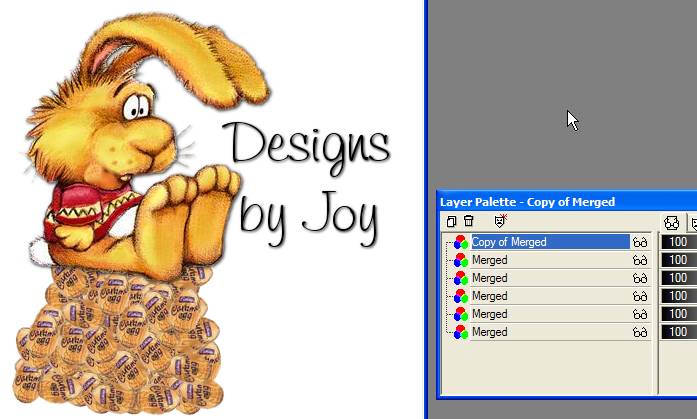
Duplicate the finished laying the eggs layer
and drag that layer to the top.
Add your name.
Save as a PSP file.
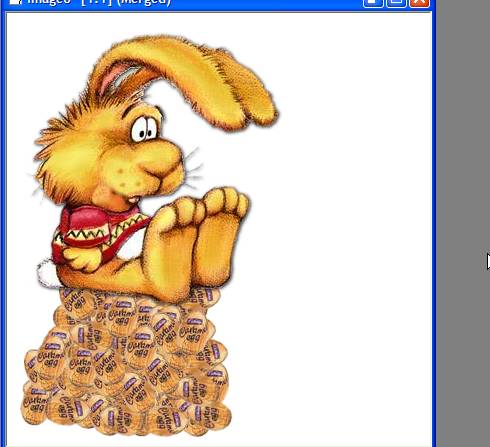
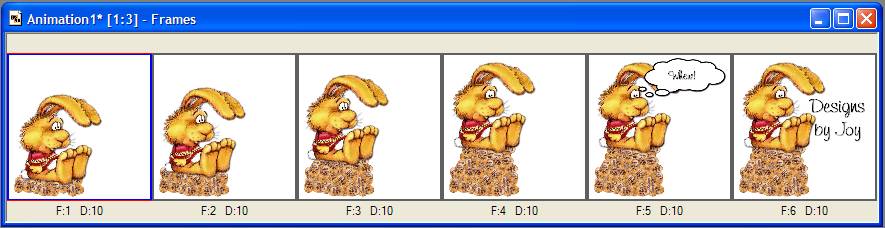
Open Animation shop.
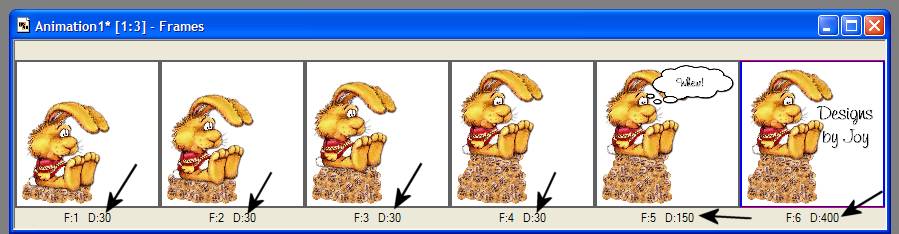
Open the psp file. This is how it should look.
Click on frame 1-2-3 and 4 while holding the
control (ctrl) button down.
This action selects (turns blue) the first 4 frames. Right click on a selected
frame
and change the frame properties (Speed) to 30.
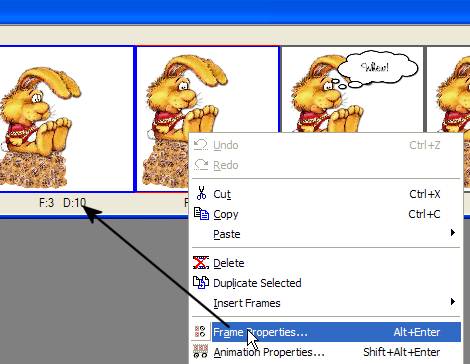
Click on frame 5, right click, frame
properties, 150
Click on frame 6, right click, frame properties, 400
This pauses the text frame so people can read it, and pauses longer your name.
It's important to do this. You don't want something so fast no one can enjoy it.
It's just another Designer touch. :)
Crop any unneeded space and save as a gif.
I hope you enjoyed this tutorial.
Click on the bunny to email me.