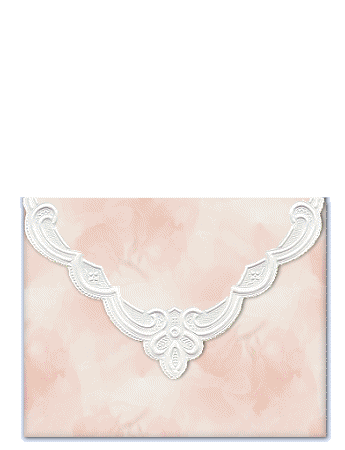
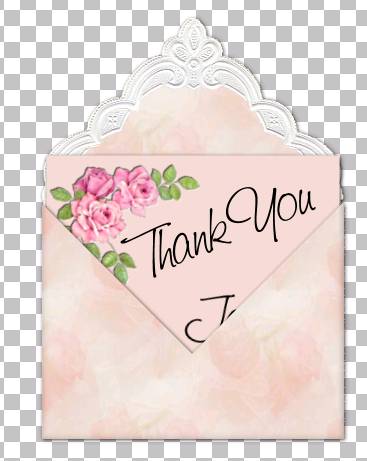
I love this envelope I got from KK.
She is simply wonderful!
Here is the zip file with the envelope psp files.
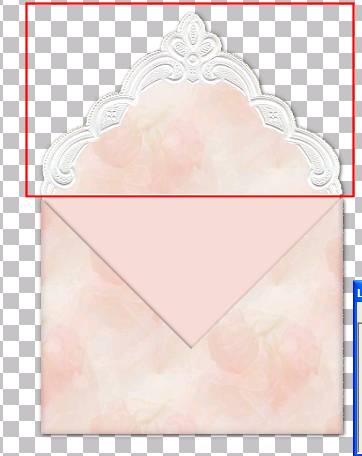
Open a large image and the two templates.
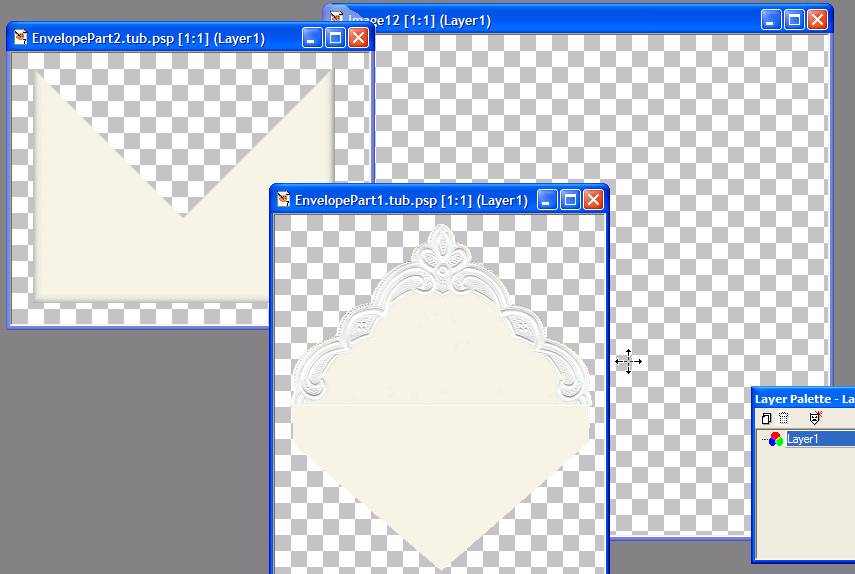
Copy and paste or drag the bottom of the envelope to the large
image.
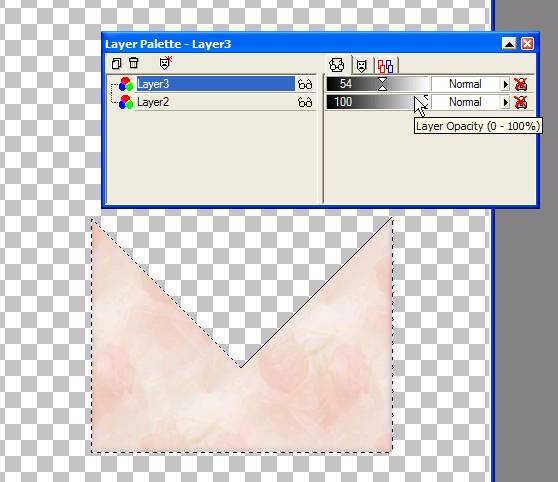
Select the outside area with the magic wand. Selection Invert.
Add a layer. Open the image you want to use for the envelope.
Here a titled rose pattern. Fill the new layer with the pattern,
move the opacity level to about 50 enough so you can see the beveled envelope
edges.
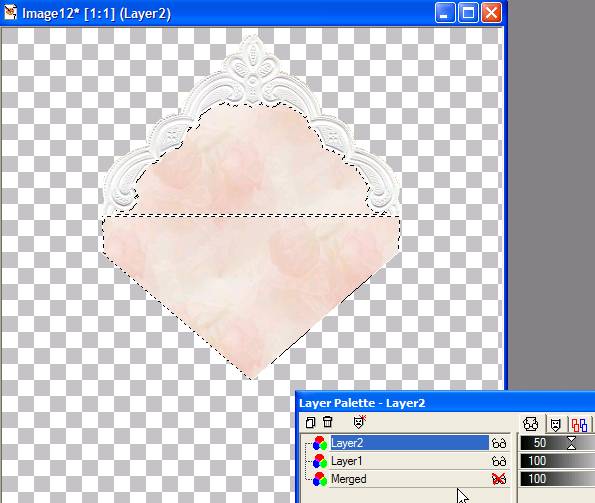
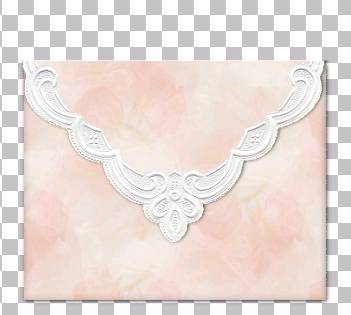
Merge visible layers.
X out that layer. Copy and paste the top part.
Select the inside area as shown with the magic wand.
add a layer and fill with the same pattern.
Move the opacity level to the same number as the bottom. Merge visible layers.
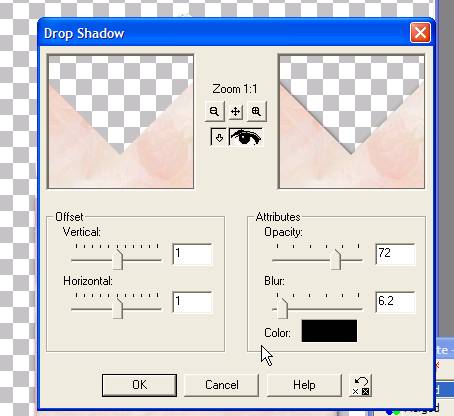
UnX the bottom layer and give both the same shadow.
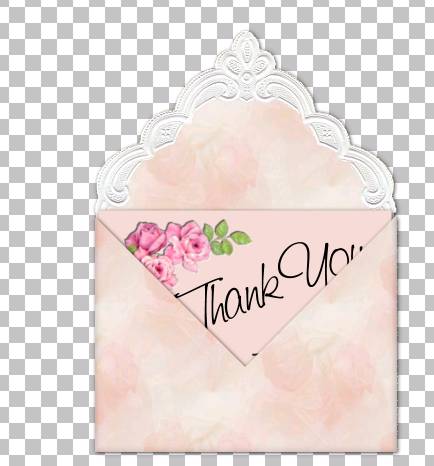
click on the bottom layer. Add a layer so it's between the two
layers as shown.
Click on the eye dropper to get a color from the pattern.
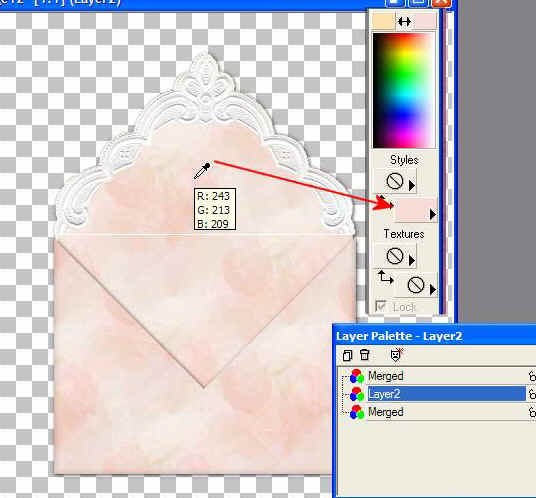
Make a rectangle using the shapes tool for the paper.
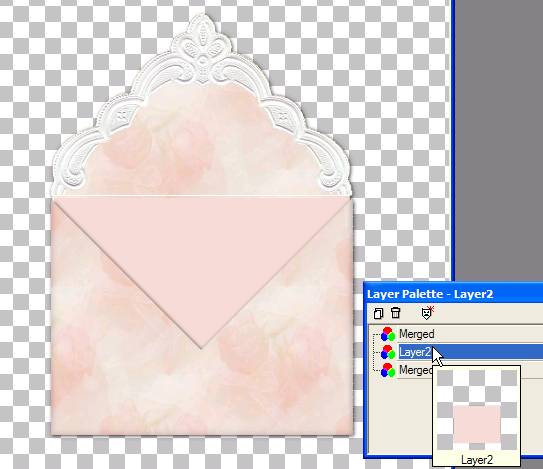
X out the top layer (the bottom of the envelope)
Add your message. A pretty script looks good here.
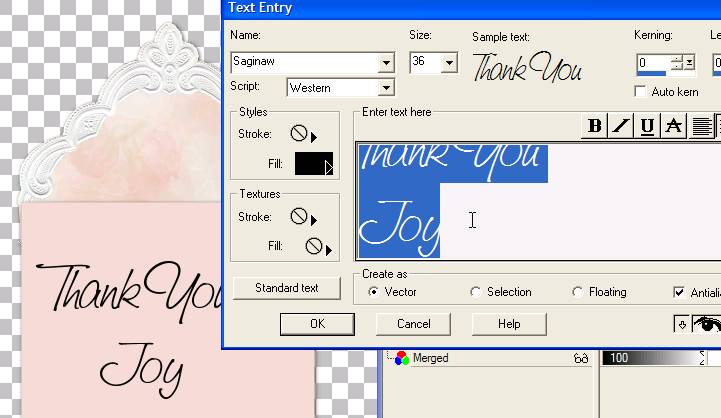
Heck...add a tube too!
X out the top of the envelope (bottom layer) and merge visible.
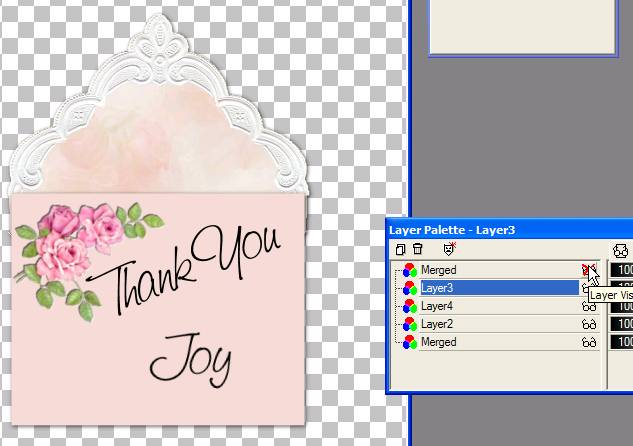
You should have 3 layers total now.
This was an after thought as I was writing the tutorial.
I thought it would be neat to have a closed note to start.
So click on the bottom layer (the top of the envelope)
Duplicate the layer. X out all the others. (not shown)
Use the selection tool and select just this part.
Then Selections/Invert/Cut the excess away
Selection/select none.
Then flip the image.
Un-X the other layers. Ta Wa!
As my Shelbi would say. A closed envelope.
Shift D to duplicate the entire image.
Delete all the other layers except what you see here.
Merge visible, Save as a PSP file.
Now delete the flipped layer.
Duplicate the entire image (Shift D)
Merge visible layers. save as a psp file.
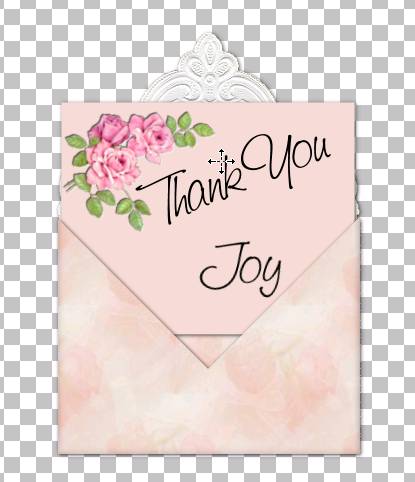
Move the card up a bit.
Duplicate the entire image (Shift D)
Merge visible layers. Save as a psp file.
Move the card up a bit.
Duplicate the entire image (Shift D)
Merge visible layers. Save as a psp file.
Open Animation shop. Click for the Animation Wizard.
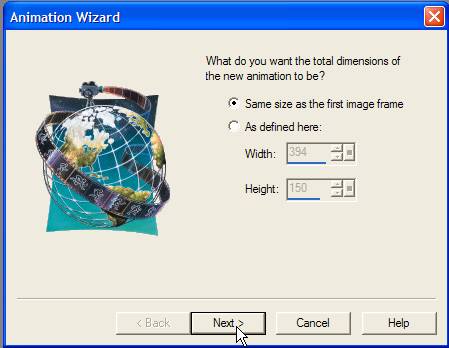
Click next on all of the settings as in previous tutorials.
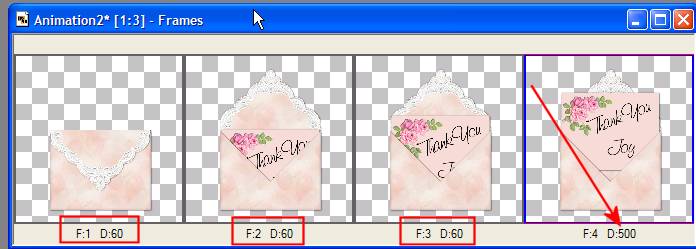
Click on each psp image. It should look like this.
Click on all but the last frame.
Right click and set the frame properties to about 60 for each.
Set the last frame to 500 so people will have time to read your message.
Save as a gif. If you get a nasty color
(I always save mine with a white background color)
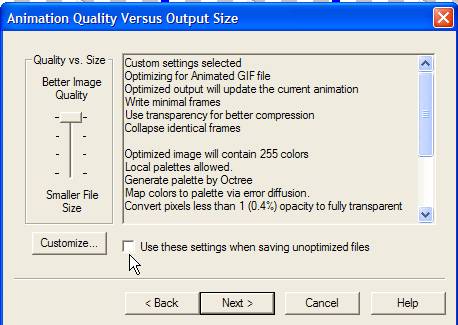
Undo, click on the optimizing wizard, click on Customize, the last tab
set your background color there. Ok then make sure the box below is NOT checked.
Continue.
And you should get this. Cool Huh?!