Transparent Gifs 2
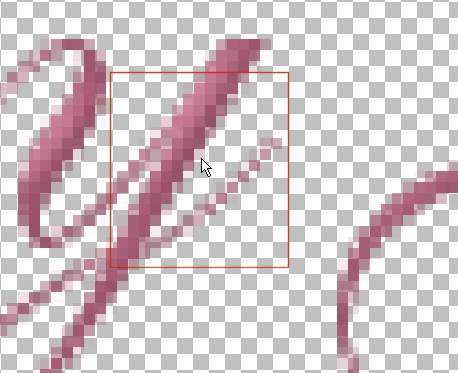
When you have the Antialias checked, the effect gives a
smooth look.
Antialias gives varying shades in varying opacity. When applying transparency
(gif effect)
these shades pick up the background color you choose to be the transparent
background.
Whew! What the heck did I just say?!
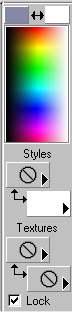
When you save a gif, you must pick a background color on the color palette
(shown)
to match the color of 'paper' you will be using the gif on.
Notice the gifs below.
|


In playing around with this tutorial I found that
you can do it easier too!
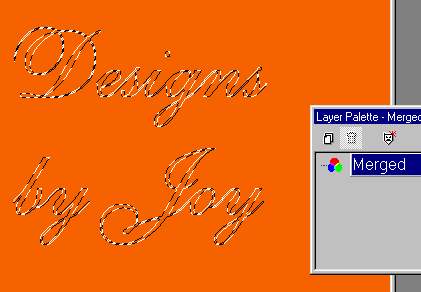
Start with your name

Add a layer, drag the new layer under your name layer
fill the bottom layer with the same color. Click on the name layer.
Click on the selection tool, surround the name, even though you can't see it,
Start at one corner and drag the selection to the opposite diagonal corner,
click ON the name to select it. As shown.
Merge visible layers. CTRL C -- CTRL V
To copy and paste.
When saved with the font color as the background color
it looks good on all colors.
|
|
